

目次
前回の記事では、VRMモデルデータの変換を行い、glb形式のデータの作成を行いました。
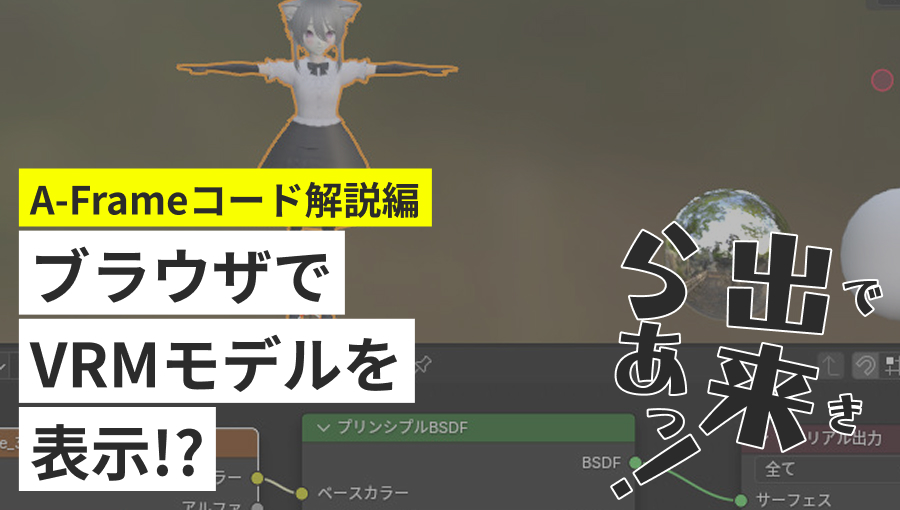
今回は、そのデータを「A-Frame」を使用して、WEB上に表示させてみましょう。
サンプルコード
まずは全体のコードです。
とりあえず動かしてみたい場合は、ソースをコピーしてモデルファイルのパスだけ差し替えれば動くと思います。
HTML
<html>

<head>
    <!-- aframe -->
    <script src="https://aframe.io/releases/1.4.2/aframe.min.js"></script>
    <!-- アニメーション用拡張 -->
    <script src="https://cdn.jsdelivr.net/gh/c-frame/aframe-extras@7.2.0/dist/aframe-extras.min.js"></script>
</head>

<body>


    <a-scene class="sceneFrame" embedded vr-mode-ui="enabled:false">
        <!-- Sky, Emvironment -->
        <a-sky color="#cccccc"></a-sky>

        <a-entity light="type: ambient; color: #ffffff; intensity: 0.9" position="-5 3 3"></a-entity>
        <a-entity light="type: point; color: #ddddff; intensity: 0.5" position="1 2 1"></a-entity>

        <!-- GLTF, Obj -->
        <a-entity
            position="0 0.7 -1.5"
            rotation="0 0 0"
            gltf-model="src: url(モデルファイル名.glb);"
            animation-mixer="clip: *; timeScale:1"  id="vrmChara">
        </a-entity>
    </a-scene>


    <!-- UI -->
    <div class="uiArea">
        <!-- moveArea -->
        <div class="moveArea">
            <div class="arrowUp">
                <img src="./images/arrow_up.svg" width="50" height="50" class="moveBtn" data-move="up">
            </div>
            <div class="arrowLeft">
                <img src="./images/arrow_left.svg" width="50" height="50" class="moveBtn" data-move="left">
            </div>
            <div class="arrowRight">
                <img src="./images/arrow_right.svg" width="50" height="50" class="moveBtn" data-move="right">
            </div>
            <div class="arrowDown">
                <img src="./images/arrow_down.svg" width="50" height="50" class="moveBtn" data-move="down">
            </div>
        </div>
        <!-- /moveArea -->

        <!-- animationButton -->
        <div class="animationButton ro on">
            <img src="./images/button_play.png" width="60" height="60" class="play">
            <img src="./images/button_stop.png" width="60" height="60" class="stop">
        </div>
        <!-- /animationButton -->

        <!-- rotateArea -->
        <div class="rotateArea">
            <div class="rotateBtn right ro">
                <img src="./images/button_rotate_right.png" width="60" height="60">
            </div>
            <div class="rotateBtn left ro">
                <img src="./images/button_rotate_left.png" width="60" height="60">
            </div>
        </div>
        <!-- /rotateArea -->

    </div>
    <!-- /UI -->


    <!-- ui処理用 -->
    <script type="text/javascript" src="./js/index.js"></script>
</body>

</html>
JavaScript(index.js)
document.addEventListener("DOMContentLoaded", function () {

    // キャラクターの要素を取得
    const charaObj = document.getElementById("vrmChara");

    // 移動方向の定数
    const MoveType = {
        NONE: "none",
        UP: "up",
        DOWN: "down",
        LEFT: "left",
        RIGHT: "right"
    };

    // 回転方向の定数
    const RotateType = {
        NONE: "none",
        LEFT: "left",
        RIGHT: "right"
    };

    // キャラクターの移動方向と回転方向を保持する変数
    let charaMoveDir = MoveType.NONE;
    let charaRotateDir = RotateType.NONE;

    // 移動ボタンの要素を取得
    const moveButtons = document.querySelectorAll(".moveBtn");

    // 移動ボタンにイベントリスナーを設定
    moveButtons.forEach(function (btn) {
        btn.addEventListener("mousedown", function () {
            charaMoveDir = this.dataset.move;
        });
        btn.addEventListener("mouseup", function () {
            charaMoveDir = MoveType.NONE;
        });
    });

    // アニメーション切り替えボタンの要素を取得
    const animationButton = document.querySelector(".animationButton");

    // アニメーション切り替えボタンにイベントリスナーを設定
    animationButton.addEventListener("click", function () {
        this.classList.toggle("on");
        charaObj.setAttribute("animation-mixer", { timeScale: this.classList.contains("on") ? 1 : 0 });
    });

    // 回転ボタンの要素を取得
    const rotateButtons = document.querySelectorAll(".rotateBtn");

    // 回転ボタンにイベントリスナーを設定
    rotateButtons.forEach(function (btn) {
        btn.addEventListener("mousedown", function () {
            charaRotateDir = this.classList.contains("left") ? RotateType.LEFT : RotateType.RIGHT;
        });
        btn.addEventListener("mouseup", function () {
            charaRotateDir = RotateType.NONE;
        });
    });

    // 定期実行処理
    setInterval(updateCharacter, 50);

    // キャラクターの移動と回転を更新する関数
    function updateCharacter() {
        moveCharacter();
        rotateCharacter();
    }

    // キャラクターの移動を更新する関数
    function moveCharacter() {
        const moveSpeed = 0.1;

        switch (charaMoveDir) {
            case MoveType.UP:
                charaObj.object3D.position.y += moveSpeed;
                break;
            case MoveType.DOWN:
                charaObj.object3D.position.y -= moveSpeed;
                break;
            case MoveType.LEFT:
                charaObj.object3D.position.x -= moveSpeed;
                break;
            case MoveType.RIGHT:
                charaObj.object3D.position.x += moveSpeed;
                break;
        }

        // 移動範囲の制限
        charaObj.object3D.position.x = Math.min(Math.max(charaObj.object3D.position.x, -1.0), 1.0);
        charaObj.object3D.position.y = Math.min(Math.max(charaObj.object3D.position.y, -0.4), 1.3);
    }

    // キャラクターの回転を更新する関数
    function rotateCharacter() {
        const rotateSpeed = 0.1;

        switch (charaRotateDir) {
            case RotateType.LEFT:
                charaObj.object3D.rotation.y -= rotateSpeed;
                break;
            case RotateType.RIGHT:
                charaObj.object3D.rotation.y += rotateSpeed;
                break;
        }
    }
});
解説
次に、各処理の中身を確認していきましょう。
A-frameの読み込み
まずは、headタグ内に「aframe.js」とアニメーションを行うための拡張「aframe-extras.min.js」を呼び出しましょう。
※この2つの読み込みはbodyタグ終了前に配置すると正常に動作しないため、注意しましょう。
<head>
    <!-- aframe -->
    <script src="https://aframe.io/releases/1.4.2/aframe.min.js"></script>
    <!-- アニメーション用拡張 -->
    <script src="https://cdn.jsdelivr.net/gh/c-frame/aframe-extras@7.2.0/dist/aframe-extras.min.js"></script>
</head>
[a-scene] 3Dシーンの設置
次に、<a-scene>タグで3D表示エリアを作成します。
<a-scene class="sceneFrame" embedded vr-mode-ui="enabled:false">
</a-scene>
embeddedを指定することで、HTML上の他の要素と共存できるようになり、ページ内にテキストやimgタグなどを配置できるようになります。
また、標準ではVRモードが有効になっているので、vr-mode-ui=”enabled:false”で無効化します。
[a-sky] [a-entity] 環境の設定
<a-sky>で背景、<a-entity light>で光源を追加しましょう。
<!-- Sky, Emvironment -->
<a-sky color="#cccccc"></a-sky>

<a-entity light="type: ambient; color: #ffffff; intensity: 0.9" position="-5 3 3"></a-entity>
<a-entity light="type: point; color: #ddddff; intensity: 0.5" position="1 2 1"></a-entity>
ライトの種類には「ambient」「point」など、色々な種類があるので、リファレンスを見てカスタマイズしましょう。
intensityはライトの強さを指定することができます。
positionはライトの発生位置です。
[a-entity] モデルファイルの読み込み
<a-entity>のgltf-modelで、読み込むモデルファイルを指定します。
<a-entity
    position="0 0.7 -1.5"
    rotation="0 0 0"
    gltf-model="src: url(モデルファイル名.glb);"
    animation-mixer="clip: *; timeScale:1"  id="vrmChara">
</a-entity>
animation-mixerでアニメーションを有効化させましょう。
これでHTML側の設定は完了です。
JS – 3Dモデル要素の取得
次にJavaScriptの処理を見ていきましょう。
要素の取得は、一般的な要素の取得と同じくgetElementで行うことができます。
let charaObj = document.getElementById("vrmChara"); // キャラクターJS – 3Dモデル要素の操作
要素を操作する場合は、object3D要素のプロパティを設定します。
// 移動
charaObj.object3D.position.y += 0.1;
// 回転
charaObj.object3D.rotation.y += 0.1;
ボタンクリック時に移動や回転を行うなど、好きなようにカスタマイズしましょう。
JS – アニメーションの停止、再生
アニメーションの再生、停止を切り替える場合は、animation-mixerの値を変更させます
// 再生
charaObj.setAttribute("animation-mixer", { timeScale: 1 });
// 停止
charaObj.setAttribute("animation-mixer", { timeScale: 0 });
ざっくり調べた感じでは、Play, Stopのようなものが無さそう(?)なので、
アニメーションを停止する場合は、アニメーションの再生速度を0にして停止させましょう。
以上、A-FrameによるVRMモデル表示の手順になります。
自分で作ったキャラクターを、Webで表示させて色々なコンテンツを作ってみましょう!
ARなどでも活用ができそうです
追記
記事を書くのが遅れている間に、「VRMA」が正式リリースされていました・・・

three-vrmでVRMAを動かすこともできるようなので、気になった方は是非そちらも試してみてください!